
Good practice guide for metal web joist installations
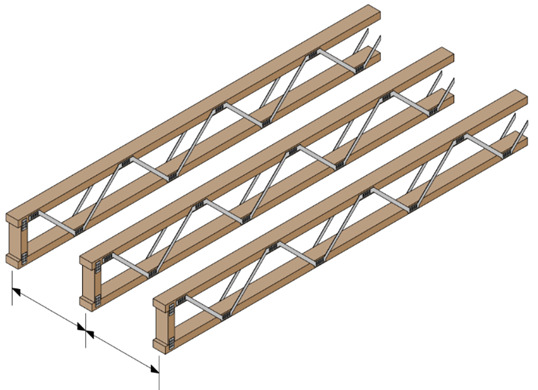
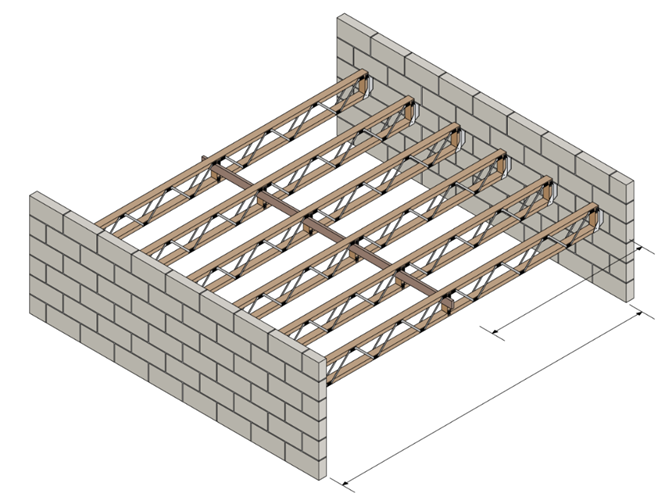
1 - The manufacturers’ joist layout drawings should be checked to see what spacings the joists should be laid to.
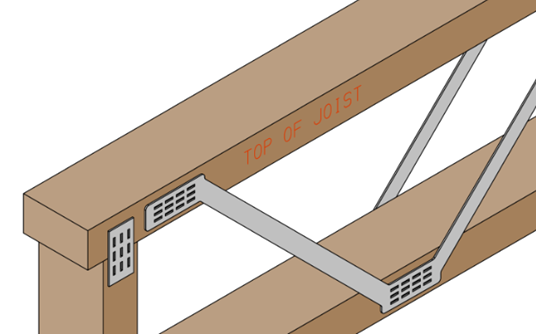
2 - Joists are designed with a specific top and bottom chord, the joists should be marked to indicate which the top chord is, if in doubt speak to the manufacturer.
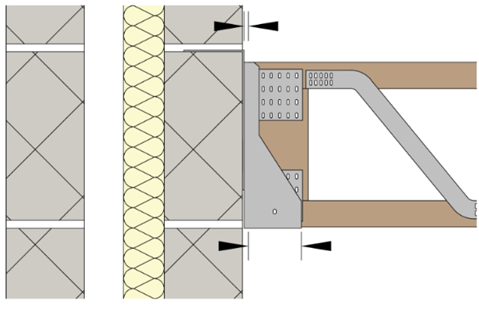
3 - Where hangers are used, there should be a max 6mm gap between joist and hanger unless otherwise stated by the manufacturer.
4 - Double joists should be fixed as per the manufactures design. This may for example be with a propriety clip fixed at specified centres. It is important to ensure that the work on site is in accordance with the manufacturers design.
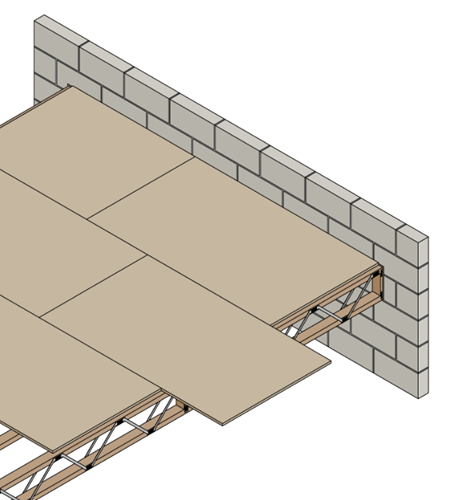
5 - Floors should provide lateral restraint to all walls running parallel to them by means of 30mm x 5mm galvanised or stainless steel restraint straps at 2m centres.
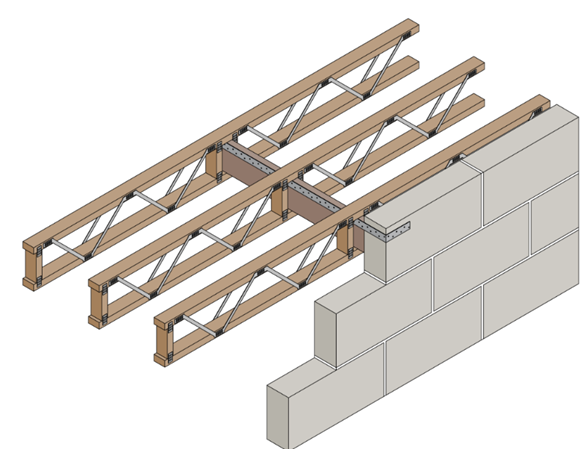
Restraint should also be provided for walls running perpendicular to joists by restraint type joist hangers.
Other forms of restraint proven by an Engineer can be accepted.
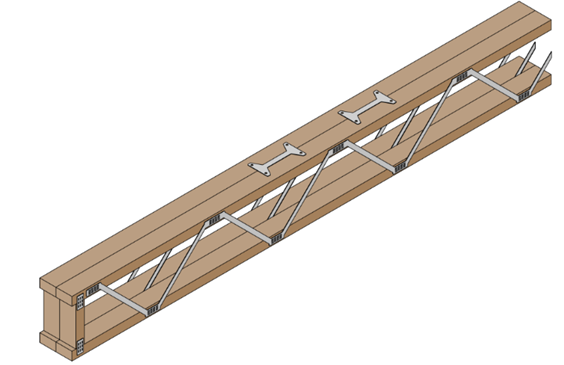
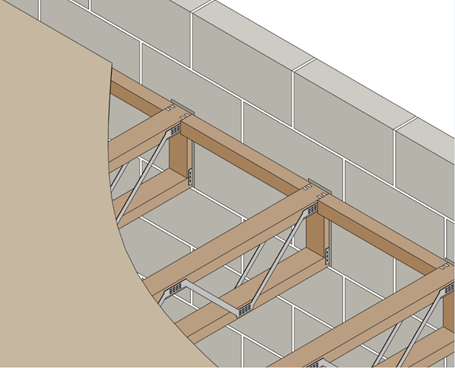
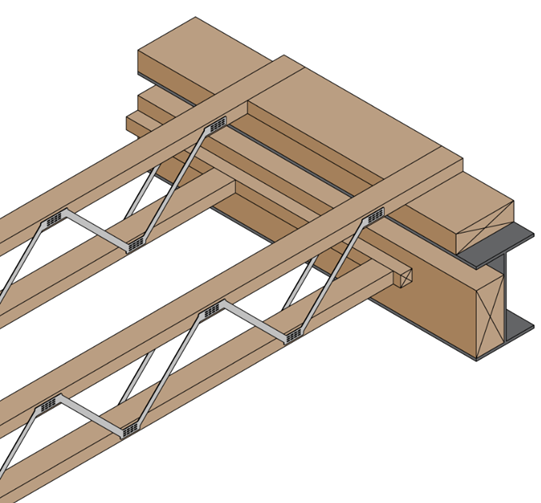
6 - Strongbacks are solid timber members that run perpendicular to metal web joists and they can reduce vibrations in the floor. One strongback member is required at midspan where the joist spans between 4 – 8 m. Two strongback members are required for spans over 8m.
7 - Perimeter noggins are required at the perimeter of joists to support the floor decking above and to create a stronger and more rigid frame. They should be fitted with Z-clips.
8 - Where studs above run parallel to joists, they should be supported on multiple joists or a row of noggins. Where they are supported on noggings, the soleplate for the stud should be fixed into the noggin. Where you see multiple fixings through the decking in a row, it may be due to a stud above not being supported or fixed into the noggins.
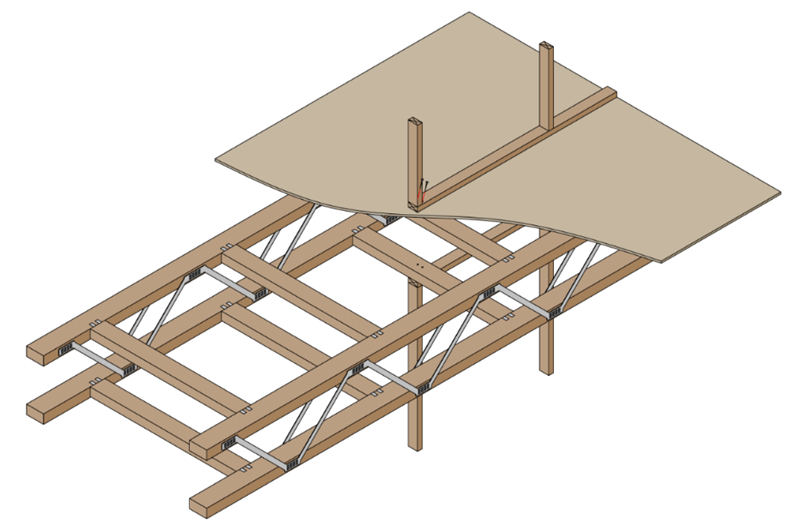
9 - A 10mm expansion gap should be provided around the perimeter of the floor decking against a wall.
10 - Where joists bearing onto a steel member, timber packers should be used within the web of the steel and on top of the steel between the top flanges of the joists. For exact detailing, consult with the metal web joist.
Summary
The above provides some general tips and good practice for metal web joist installations. This good practice guide should be reviewed with your site team and it should be used during the first floor inspection with your Warranty Surveyor.